Using Stripe on your website will allow people to pay their bill easily through online payments. Setting up an account is easy and works seamlessly with the websites we build!
Follow these steps and be on your way to easier e-commerce payments in no time!
- Go to the Stripe website.
- Click the green button to create an account.

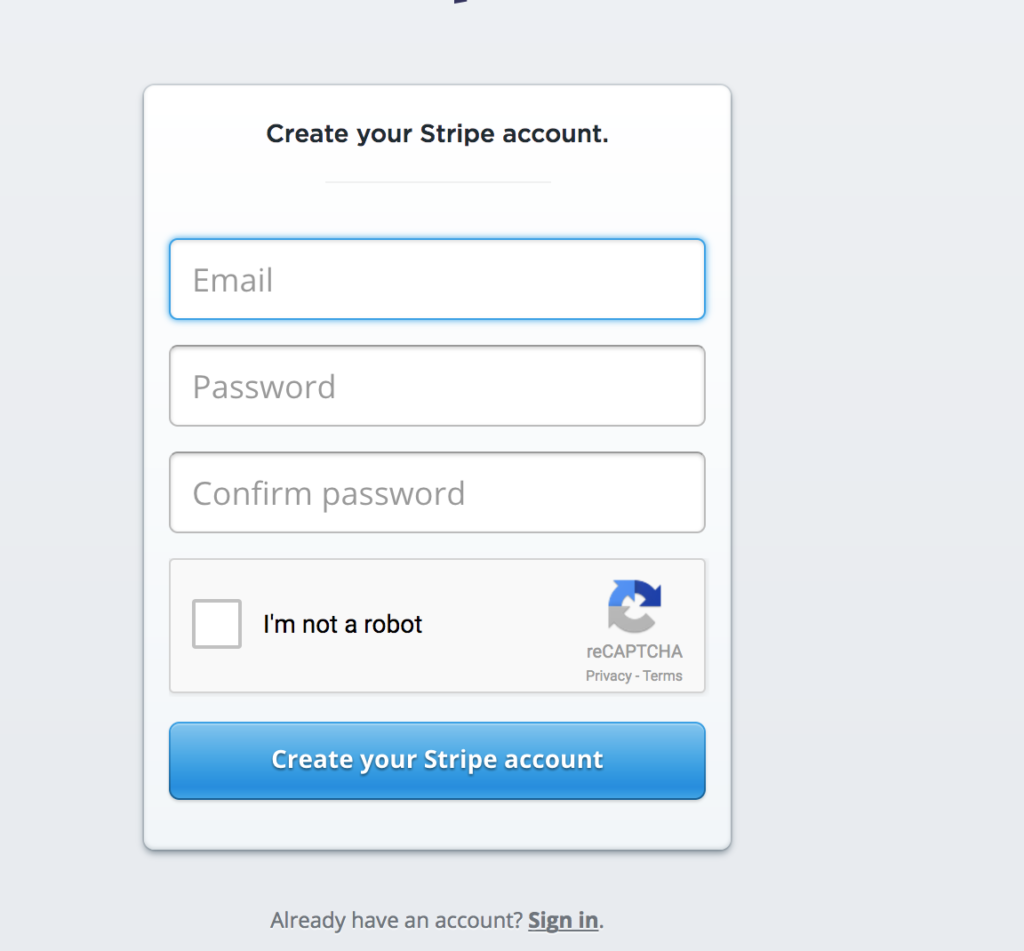
- A new screen will appear, fill out your desired email and password, click the blue create an account button.
- Skip the step when asked to enter your phone number, it automatically initiates a two step authentication process.
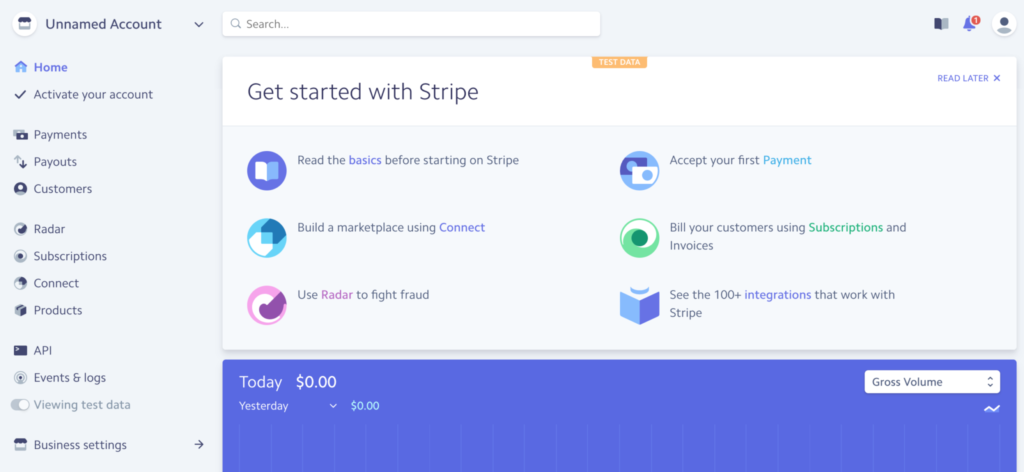
- You will be brought to your Stripe dashboard.
- Name your business under Business Settings.
- Go to your email and confirm your Stripe account, this is a required step to begin accepting payments.
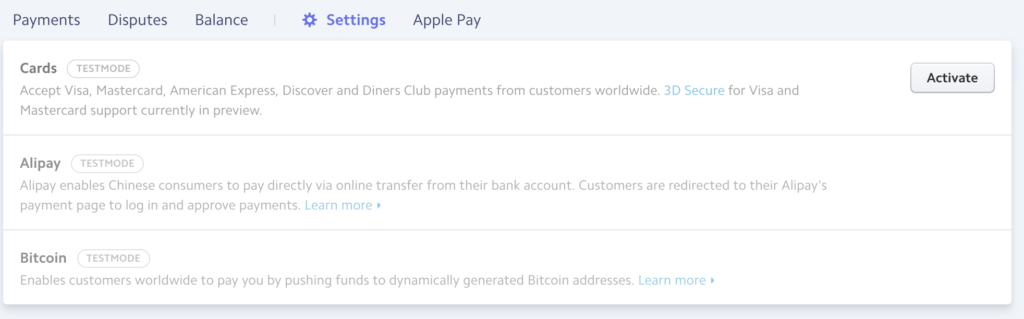
- On your Stripe dashboard go to payments, which is on the left side of the screen.
- Select settings and activate on the credit card section. This will give your customers the chance to pay their bill with their credit cards.
- Complete the form, including your bank account information, then activate the account. This is a vital step, as it enables the entire Stripe payment process.
- The last step is to share your credentials with OTM so that we may access integration information.